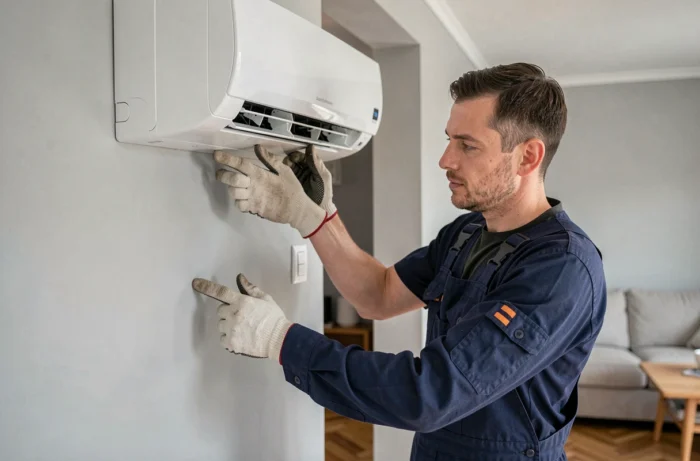
On-site, the difficulty of installing an air conditioning system does not lie in assembling the units. It focuses on three points that many guides overlook: drilling the wall, vacuuming the refrigerant line, and choosing the refrigerant in light of F-Gas regulations. Understanding these technical steps before starting the project avoids costly rework and unpleasant surprises during commissioning.
Refrigerant and F-Gas Regulations: A Choice That Affects the Lifespan of the Installation
Before even discussing placement or drilling, the refrigerant question must be addressed. The European regulation (EU) 2024/573, which came into effect on March 11, 2024, schedules the gradual phase-out of residential air conditioners using high global warming potential (GWP) refrigerants.
As of January 1, 2025, monobloc air/water heat pumps using R410A or R32 (GWP equal to or greater than 750) are banned from being marketed. Starting January 1, 2027, 12 kW or smaller split systems using R32 will no longer be allowed for new installations. Units already installed can continue to operate and be maintained, but parts and refrigerant will gradually become scarcer and more expensive.
In practice, if you buy an air conditioner in 2026, you need to ensure that the model operates with a low GWP refrigerant (R290 propane, R454B, or equivalent). Knowing how to install a home air conditioning system starts with this refrigerant choice, which determines the regulatory compatibility of the installation for the coming years.
Refrigerant Line and Vacuuming: The Critical Phase of the Air Conditioning Project
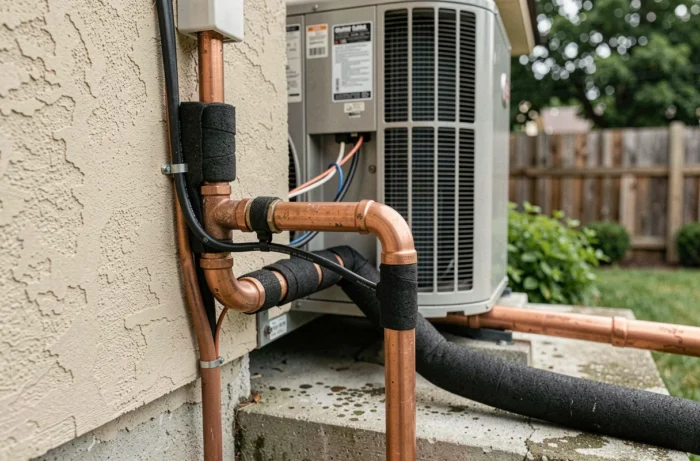
You can mount an indoor unit on a wall in an hour. Vacuuming, however, requires specific equipment and leaves no margin for error. This is the phase that separates a reliable installation from a unit that will lose efficiency from the first summer.
Drilling and Running the Lines
Drilling the exterior wall is done at the diameter suitable for the connection bundle (copper tubes, electrical cable, condensate drain). Drill with a slight incline outward so that condensation water can drain naturally. A horizontal or inward-angled hole causes water infiltration into the wall, a defect that is regularly observed in installations done without this precaution.
Copper tubes must be cut with a tube cutter, never with a saw. A saw cut generates metal shavings that end up in the refrigerant circuit and damage the compressor. The flared fittings (dudgeon) are tightened with a torque wrench to the manufacturer’s specified torque.
Vacuuming and Leak Testing
Once the connection is made, a vacuum pump is connected to extract air and moisture from the circuit. An insufficient vacuum leaves moisture in the circuit, which degrades the refrigerant and reduces the compressor’s lifespan. The pump must run long enough to reach a stable vacuum level, verified with a manometer.
After vacuuming, the vacuum is maintained for several minutes without the pump. If the pressure rises, there is a leak. Each connection is then checked one by one. This sealing step is not optional: decree 2020-912 mandates a leak test for equipment containing refrigerants, and this test must be recorded in a register.
Placement of Indoor and Outdoor Units: Common Mistakes on Site
The positioning of the units determines both thermal comfort and electricity consumption. A poor location can significantly increase energy expenditure.
- The indoor unit should be mounted high on a clear wall, with no furniture or curtains nearby that would block air intake. The airflow should not blow directly onto an area where people sit or lie down.
- The outdoor unit needs sufficient clearance (at least 30 cm on the sides) to dissipate heat. If placed in a confined corner or in direct sunlight, it overheats, and the compressor runs continuously.
- The distance between the indoor and outdoor units should remain reasonable. The longer the refrigerant line, the more efficiency is lost. Returns on this point vary depending on housing configurations, but it is noted that beyond the maximum length indicated by the manufacturer, performance drops significantly.
- Plan for condensate drainage from the outset. A poorly connected or sloped condensate pipe can cause overflow inside the home, often behind a false ceiling where the damage remains invisible for weeks.
Commissioning and Electrical Connection of the Air Conditioner
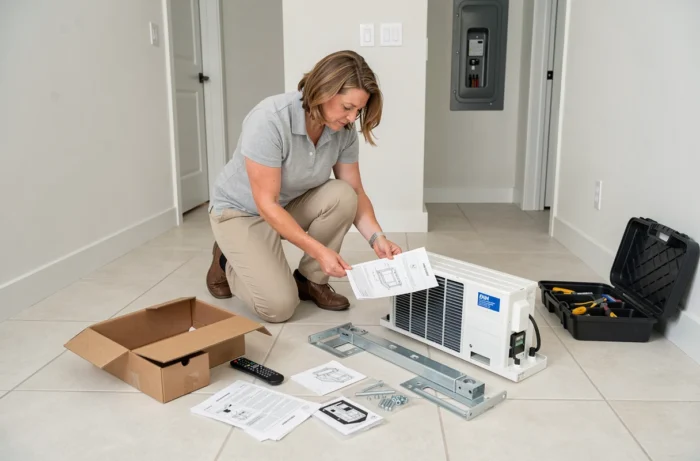
The electrical connection of a split air conditioner requires a dedicated line from the electrical panel, protected by a circuit breaker suitable for the power of the outdoor unit. Plugging an air conditioner into an existing outlet shared with other devices exposes it to repeated circuit breaker trips and a risk of overheating wiring.
During commissioning, the valves of the outdoor unit are opened to release the pre-charged refrigerant into the circuit. The operation is then checked in cooling and heating modes (for a reversible model), the airflow temperatures, and the absence of abnormal vibrations.
A often overlooked point: the installer must provide a certificate of competence for handling refrigerants. This document proves that the intervention was carried out by a qualified professional. Without it, the manufacturer’s warranty may be denied, and the owner may face penalties in case of an inspection related to refrigerant traceability obligations.
Moreover, decree 2020-912 imposes mandatory maintenance every two years for air conditioning systems with a power between 4 kW and 70 kW. This maintenance includes checking the circuit’s tightness, cleaning the filters, and checking efficiency. Keeping this deadline in mind from the installation allows for planning the maintenance budget without surprises.